
Call Us
+86-18962820095

 Español
Content
- 1 Understanding PVC Barrier Safety Fencing Mesh Before You Install
- 2 Tools and Materials Required for Installation
- 3 Step 1 — Plan the Layout and Calculate Materials
- 4 Step 2 — Set the Posts
- 5 Step 3 — Unroll and Position the Mesh
- 6 Step 4 — Tension and Fasten the Mesh to Posts
- 7 Step 5 — Secure the Bottom Edge
- 8 Step 6 — Cut and Finish the Mesh Ends
- 9 Installation Tips for Specific Applications
- 10 Common Installation Mistakes and How to Avoid Them
- 11 Maintenance, Inspection, and Removal of PVC Barrier Mesh
- 12 Summary: Installation Best Practices at a Glance
Installing PVC barrier safety fencing mesh involves six core steps: planning and measuring the perimeter, setting posts at correct spacing, unrolling and tensioning the mesh along the fence line, securing the mesh to each post with zip ties or wire clips, cutting excess material cleanly, and finishing the edges. When done correctly, the installation takes as little as 30 minutes per 100 linear feet for an experienced installer, and the finished fence provides 80% visibility blockage with 20% airflow — ideal for construction sites, sporting courts, crowd control, and temporary perimeter security.
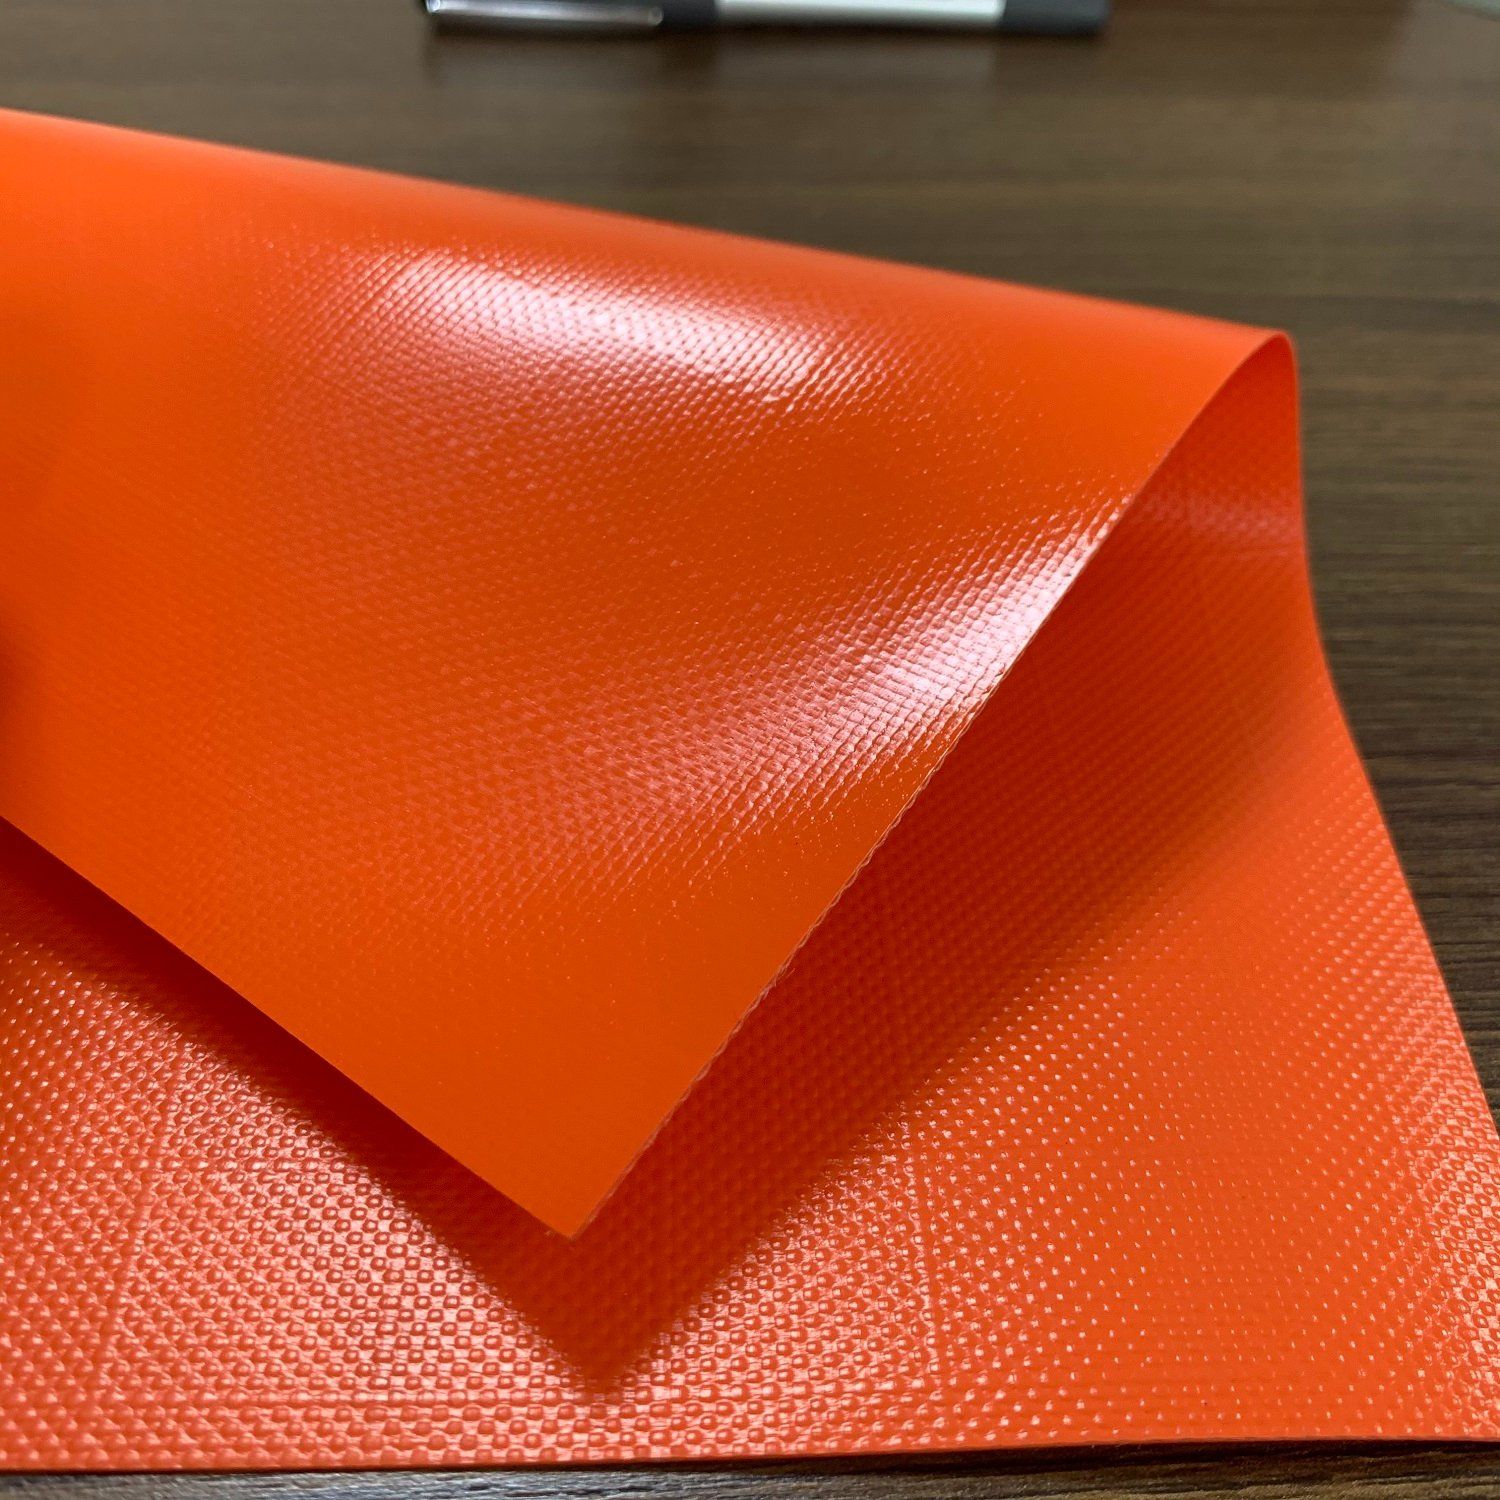
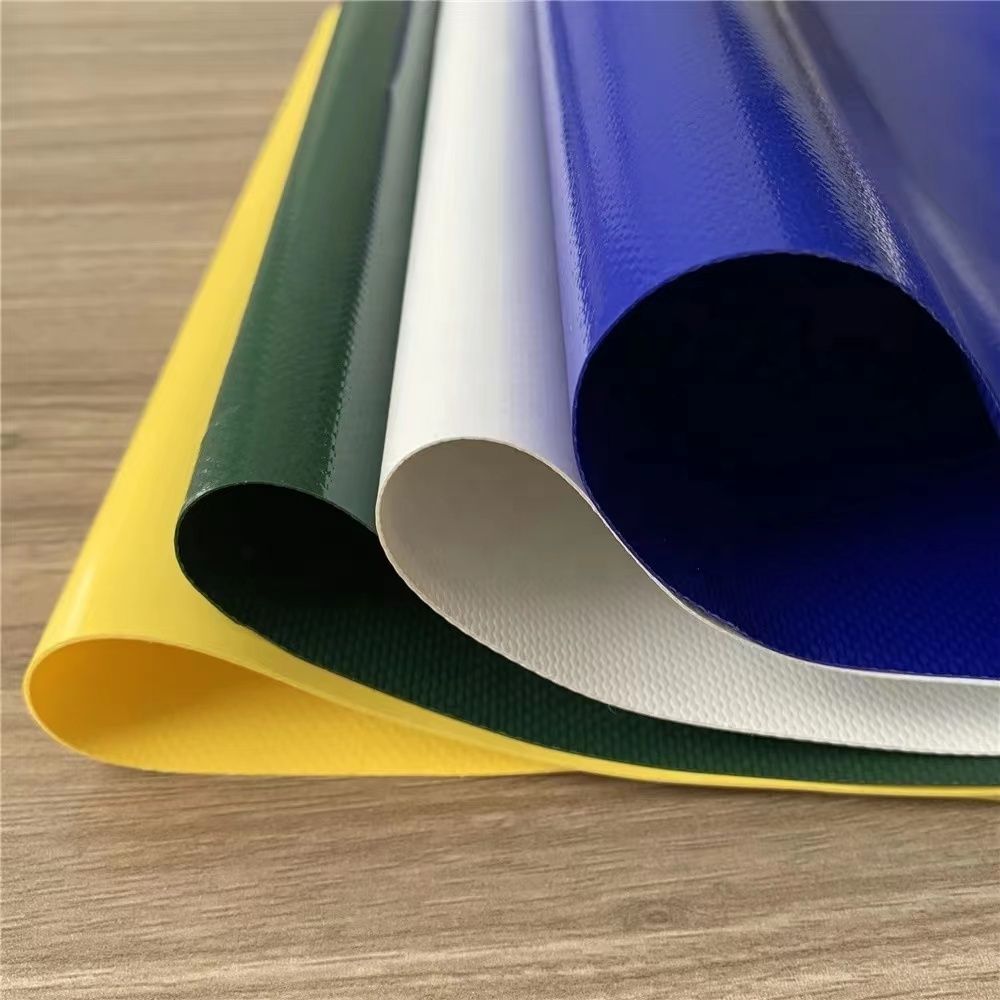
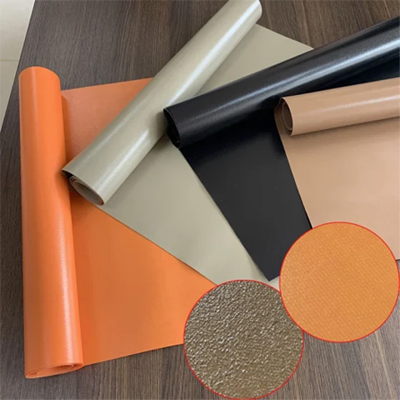
PVC barrier safety fencing mesh is an open-weave, flexible fabric made from PVC vinyl-coated polyester. Its unique construction combines durability with lightweight handling — a standard roll weighs significantly less than chain-link or wooden panel alternatives, making solo installation feasible in many situations. The following guide covers every step in practical detail, along with tool requirements, common mistakes to avoid, and application-specific tips.
Understanding PVC Barrier Safety Fencing Mesh Before You Install
Before beginning any installation, it is essential to understand the material you are working with. PVC barrier safety fencing mesh has specific properties that directly affect how it should be handled, tensioned, and fastened.
Material Composition and Structural Properties
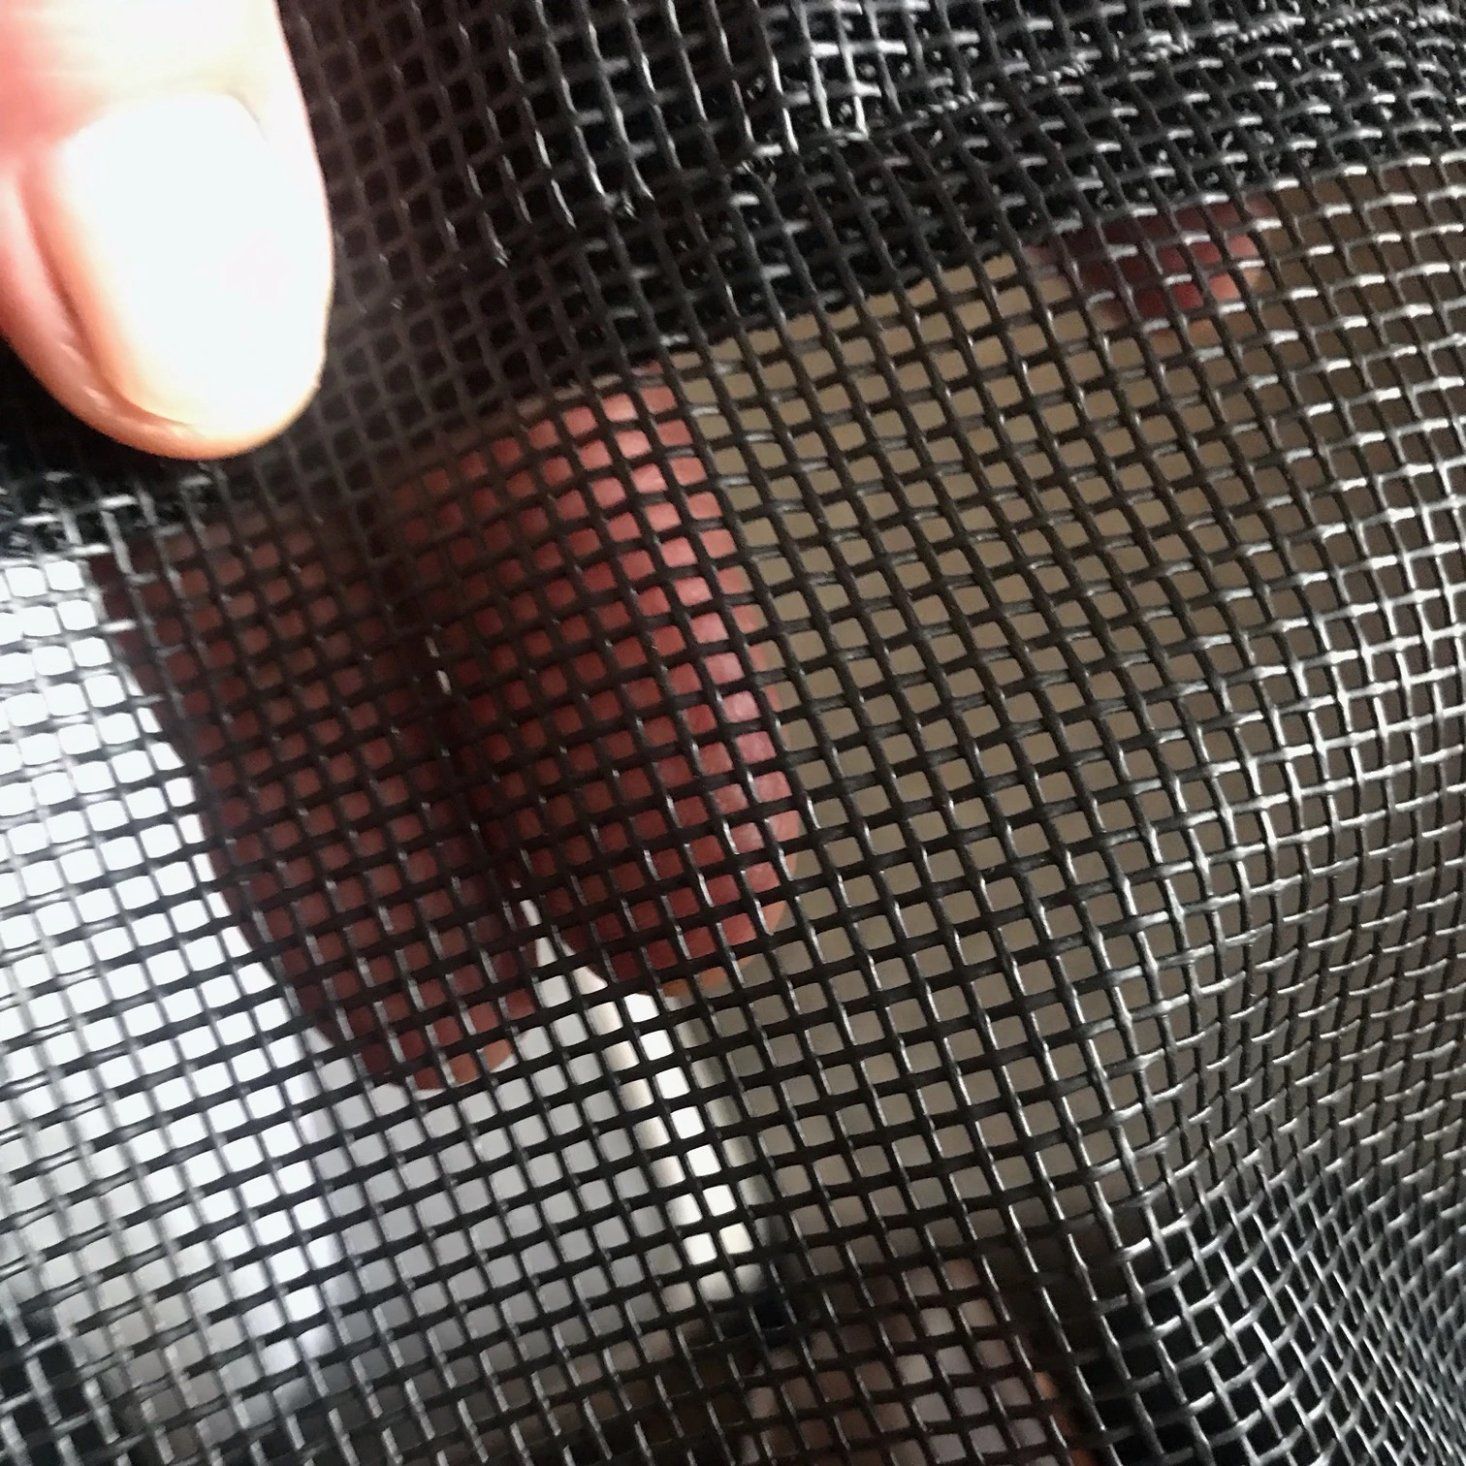
The mesh is constructed from a woven polyester base fabric that has been coated on both sides with a PVC (polyvinyl chloride) compound. This laminated structure gives the material several properties that affect installation decisions:
- Flexibility without stretch: The mesh is pliable enough to follow curved fence lines and uneven terrain, but the polyester core resists elongation under tension. This means the mesh will not sag significantly once properly secured, but over-tensioning can stress attachment points.
- Open weave structure: The characteristic open weave provides 20% airflow through the fabric, significantly reducing wind load compared to solid sheeting. This is critical for temporary fence posts — a solid barrier on a windy site would require much more robust post anchoring than a permeable mesh fence.
- UV resistance: Quality PVC-coated mesh incorporates UV stabilizers in the coating that prevent degradation from prolonged sun exposure. Without UV protection, PVC becomes brittle and cracks within months of outdoor installation.
- Standard roll dimensions: PVC barrier mesh is commonly available in heights of 4 feet (1.2 m) and 6 feet (1.8 m), with roll lengths of 100 feet (30 m) and 150 feet (45 m) being most standard. Confirming roll dimensions before ordering prevents material shortages mid-installation.
Common Applications That Affect Installation Approach
The installation method varies somewhat depending on the application. The major use cases and their specific requirements are:
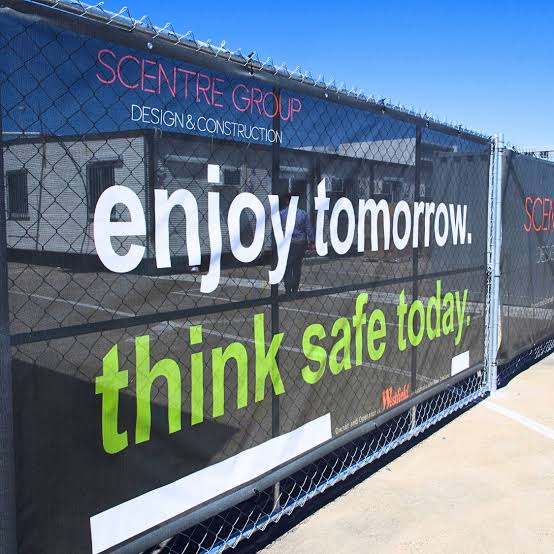
- Construction site perimeter fencing: Requires robust post anchoring (driven steel T-posts or base-plate standing posts), high-visibility orange or yellow mesh color for regulatory compliance, and frequent inspection due to heavy site traffic and equipment proximity.
- Event and crowd control barriers: Typically uses lightweight interlocking standing posts or jersey barrier attachment clips for rapid deployment and removal. The priority is speed of installation and clean appearance rather than permanent anchoring.
- Tennis court and sports facility screens: Installed on existing chain-link or pipe framework, with the mesh tensioned and laced to the existing structure. Visibility blockage and wind reduction are the primary functions.
- Garden and landscaping barriers: Often installed on lightweight wooden or fiberglass stakes using simple tie fasteners. Load requirements are low, and aesthetics may be a higher priority than in industrial applications.
- Silt and debris control fencing: Installed at grade level with the bottom edge staked or buried to prevent water-borne sediment from passing under the fence. Requires careful attention to the bottom edge installation detail.
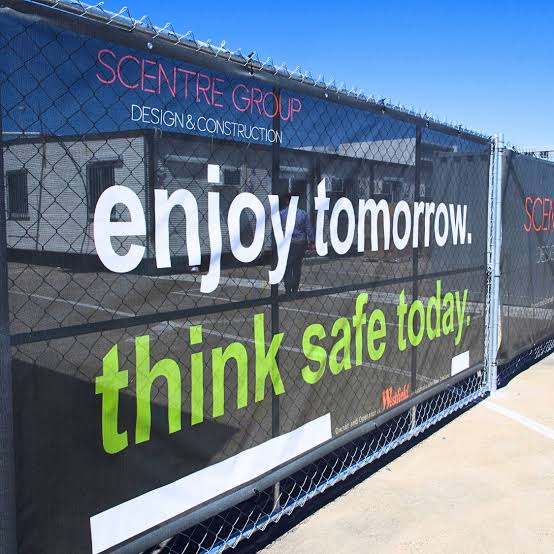
Tools and Materials Required for Installation
Gathering all tools and materials before beginning the installation prevents interruptions and ensures the job can be completed efficiently. The following lists cover requirements for the most common installation scenario — temporary barrier fencing on a construction site or event perimeter using steel T-posts.
Tools Required
- Post driver or sledgehammer: For driving T-posts into the ground. A manual post driver is recommended for installers working without a helper — it slides over the post and uses the installer's bodyweight as driving force without risk of bending the post head.
- Measuring tape: For marking post spacing and confirming mesh roll coverage against the measured perimeter.
- String line and stakes: For establishing a straight fence alignment before driving posts. A taut string line ensures posts are positioned in a straight row.
- Zip tie tensioning tool (optional): A cable tie tensioning gun tightens zip ties to consistent tension and cuts the tail flush, producing a neater result than hand-tightening.
- Scissors or utility knife: For cutting the mesh to length. A sharp utility knife with a fresh blade cuts through PVC-coated mesh cleanly; dull blades drag and fray the cut edge.
- Level (optional): For checking post vertical alignment on installations where appearance is important, such as sports facilities or commercial perimeters.
- Work gloves: The PVC mesh edges and T-post tips can cause cuts and abrasions. Heavy work gloves are strongly recommended throughout the installation.
Materials Required
- PVC barrier safety fencing mesh rolls: Quantity calculated based on total linear footage plus 10% overage to allow for overlaps, corners, and waste at cut ends.
- Steel T-posts or alternative post system: Quantity calculated at the chosen post spacing (see Step 2). Standard T-posts for temporary construction fencing are 5 feet or 6 feet in length, depending on whether 4-foot or 6-foot mesh height is being installed.
- Heavy-duty zip ties (cable ties): UV-resistant black or natural zip ties in 8-inch or 11-inch length. Plan for a minimum of 4 to 6 ties per post for standard installations, more for taller mesh or high-wind locations.
- Wire clips or hog rings (alternative to zip ties): Metal wire clips installed with a hog ring plier provide stronger and more durable attachment than plastic zip ties, particularly for permanent or semi-permanent installations.
- Ground stakes or anchor pins (for bottom edge): Metal or heavy plastic stakes driven through the mesh at grade level prevent animals, debris, and unauthorized persons from lifting the bottom edge.
Step 1 — Plan the Layout and Calculate Materials
Careful planning before any physical work begins prevents the most costly installation mistakes — running short of mesh mid-installation, placing posts inconsistently, or discovering after the fact that a gate or access point was not accounted for.
Measure the Total Perimeter
Walk the entire fence line and measure the total linear footage to be fenced. For irregular shapes, break the perimeter into straight-line segments and sum the individual measurements. Record each segment length separately — this will be used when calculating where roll joins fall and whether an access opening needs to be incorporated.
Add 10% to the total measured length when calculating mesh quantity. This overage accounts for the following material uses that are not captured in a simple perimeter measurement:
- Roll-to-roll overlaps at joints (minimum 6 inches of overlap at each joint to prevent gaps)
- Extra mesh needed to wrap around corner posts
- Waste at the end of each roll where the cut falls short of a post
Identify Corners, Gates, and Obstacles
Mark the location of all corners, any required access openings, and physical obstacles (trees, existing structures, utility boxes) on a simple sketch. Corners require dedicated corner posts set before any line posts. Access openings require two end posts — one on each side of the opening — with the mesh terminated at each end post rather than spanning the gap.
Determine Post Spacing and Calculate Post Quantity
Post spacing is the single most important structural decision in the installation. The correct spacing depends on:
- Expected wind conditions: In low-wind environments, posts can be spaced up to 10 feet (3 m) apart. In exposed, high-wind locations, reduce spacing to 5 to 6 feet (1.5 to 1.8 m). The open weave of PVC barrier mesh passes 20% of wind, but the remaining 80% wind load is still substantial in high gusts.
- Mesh height: Taller mesh exerts greater lateral force at mid-span. 6-foot mesh in windy conditions should use 6-foot post spacing maximum; 4-foot mesh can use 8-foot spacing in moderate conditions.
- Application type: Construction site barrier fencing subject to physical contact from workers and equipment should use 6-foot maximum spacing regardless of wind conditions. Event fencing subject only to crowd contact can use 8-foot spacing.
To calculate post quantity: divide the total fence length by the chosen post spacing, round up to the nearest whole number, then add 1 post (for the terminal post at the end of the run), plus the number of corners and access opening end posts.
Example: A 200-foot perimeter with two corners, one access opening, and 8-foot post spacing requires: (200 ÷ 8) + 1 = 26 line posts + 2 corner posts + 2 access end posts = 30 posts total.
Step 2 — Set the Posts
Post setting is the most physically demanding phase of the installation and the phase that most determines the long-term stability of the fence. Posts set too shallow, out of alignment, or at inconsistent heights make the mesh installation much harder and the finished fence look unprofessional.
Establish a String Line for Alignment
Before driving any posts, establish a taut string line along each straight run of the fence. Drive temporary stakes at each end of the run and at each corner, then stretch the string line at the height where the top of the posts will be. All posts along the run should be set with their face touching the string line, ensuring a straight, consistent alignment.
Drive T-Posts to the Correct Depth
The standard rule for T-post penetration depth is one-third of the total post length in the ground. For a 6-foot T-post, this means 2 feet of embedment, leaving 4 feet above grade. For a 5-foot post, embed 20 inches, leaving 40 inches above grade.
In soft or sandy soils, increase embedment depth to 40% of post length or add concrete collars to the corner and end posts, which bear the highest lateral loads. In rocky ground where driving is impossible, use base-plate standing posts or spade-foot posts that stand on the surface without ground penetration — these are standard equipment for event applications on paved surfaces.
Set corner and end posts first, as these anchor points control the alignment of all line posts between them. Drive each corner post, verify it is plumb in two directions using a level, then drive the end post at the other end of the run. Stretch the string line between them and drive all intermediate line posts along the string, checking spacing with a measuring tape as you go.
Post Type Selection for Different Surfaces
| Surface Type | Recommended Post Type | Minimum Embedment / Ballast | Best Application |
|---|---|---|---|
| Soft soil / grass | Steel T-post (driven) | 24 inches (600 mm) | Construction sites, gardens |
| Hard soil / compacted ground | Steel T-post with pilot hole | 20 inches (500 mm) | Dry sites, packed road shoulders |
| Asphalt / concrete | Base-plate standing post with ballast | Ballast block per manufacturer spec | Events, parking lots, paved sites |
| Rocky or frozen ground | Spade-foot or weighted base post | Sandbag or concrete block anchor | Winter sites, rocky terrain |
| Existing chain-link or pipe frame | No additional posts — attach to existing | Lace wire or zip ties to existing frame | Tennis courts, sports screens |
Step 3 — Unroll and Position the Mesh
Unrolling and positioning PVC barrier mesh correctly prevents the most common installation frustrations — tangled mesh, uneven height, and difficult tensioning. The mesh is supplied in tight rolls, and how it is unwound determines how smoothly the subsequent fastening step proceeds.
Safe Unrolling Technique
- Locate the end post at one end of the fence run. This is where the first roll will be attached.
- Stand the mesh roll on its end at the starting post. Do not lay it flat and unroll horizontally — this causes the mesh to tangle and twist.
- Attach the leading edge of the mesh to the starting post with two or three zip ties before beginning to unroll — one tie near the top, one in the middle, and one near the bottom. This anchors the starting point and prevents the roll from pulling free as you walk it out.
- Walk the roll along the fence line, allowing it to unwind from the bottom as you move toward the next post. Keep the roll upright and rolling on its circular end — do not drag the roll on its side.
- At each post, tuck the mesh against the post face and continue walking the roll forward. Do not fasten to intermediate posts until the entire roll is laid out — fastening as you go makes it impossible to adjust tension later.
- Once the full roll is laid out, check that the mesh top edge runs approximately level and at the intended height along the entire run. Minor height variations can be corrected at the fastening stage.
Managing Roll Joints and Overlaps
When one roll ends before reaching the end of the fence line, begin the next roll with a minimum 6-inch (150 mm) overlap over the end of the previous roll. Position the overlap at a post location wherever possible — this means both the end of the outgoing roll and the beginning of the incoming roll are both fastened to the same post, creating a strong, gap-free joint. Overlaps that fall between posts are structurally weaker and more likely to develop visible gaps under wind pressure.
For high-visibility applications (orange safety fencing, event perimeter), run the overlap so the outer layer faces outward — this makes the joint nearly invisible from the primary viewing side.
Step 4 — Tension and Fasten the Mesh to Posts
Fastening is the step where the quality of the finished fence is determined. Mesh fastened with insufficient tension sags between posts and looks unprofessional. Mesh fastened too tightly puts excessive stress on the attachment points and can cause the mesh to tear at the tie locations over time, particularly in high-wind installations.
Achieving Correct Mesh Tension
The correct tension for PVC barrier mesh is hand-tight with slight resistance — when you push the mesh laterally at mid-span between two posts, it should deflect no more than 3 to 4 inches (75 to 100 mm) under moderate hand pressure. More deflection indicates insufficient tension; if the mesh feels drum-tight with no give at all, it is over-tensioned and the tie points are under excessive stress.
To achieve this tension, use the following technique at each post:
- Start at the end post where the mesh is already attached. Work toward the far end of the run, fastening one post at a time.
- At each intermediate post, pull the mesh firmly toward the far end of the run to take out any slack, then hold the mesh against the post face while attaching the first (top) zip tie.
- With the top tie securing the tension, attach the remaining ties working downward from top to bottom.
- Do not attempt to tighten each tie to its final tension on the first pass — thread all ties loosely, then go back and tighten them in a second pass. This allows minor tension adjustments before ties are locked.
Zip Tie Placement Pattern for Maximum Security
The number and placement of zip ties per post determines the mesh's resistance to the three main failure modes: top-edge lifting, bottom-edge lifting, and mid-span tearing. The recommended pattern for standard 4-foot and 6-foot mesh is:
- 4-foot mesh (standard conditions): Minimum 3 ties per post — one within 3 inches of the top edge, one at mid-height, one within 3 inches of the bottom edge.
- 6-foot mesh (standard conditions): Minimum 4 ties per post — one near top, two at equal intermediate spacing, one near bottom.
- Any mesh height in high-wind or heavy-traffic conditions: Minimum 5 to 6 ties per post, with ties placed at the top, bottom, and at approximately 18-inch vertical intervals between them.
- Double-wrap at corner and end posts: Loop the zip ties twice around the mesh and post at terminal posts, as these locations bear the full longitudinal tension of the fence run.
Alternative Fastening Methods
While zip ties are the most common fastening method for temporary installations, other options are available and may be preferable in certain applications:
- Hog rings and hog ring pliers: Metal C-rings clinched through the mesh and around the post or wire create a faster, stronger, and more permanent attachment than zip ties. Used for semi-permanent and permanent installations.
- Baling wire or tie wire: Twisted wire ties provide strong, reusable attachment and are the standard fastening method for attaching mesh to existing chain-link fabric or pipe frameworks. Use galvanized wire to prevent rust staining on the mesh.
- Lacing cord (polypropylene or polyester): For attaching mesh to chain-link or pipe fence frameworks on tennis courts and sports screens, a continuous lacing cord woven through the mesh selvedge and around the support provides even load distribution and a clean finished appearance.
- Fence clips and T-post clips: Pre-formed wire clips specifically designed for attaching mesh to T-posts, applied with a clip installation tool. Faster than individual zip ties on long installations and provide consistent attachment tension.
Step 5 — Secure the Bottom Edge
The bottom edge of the mesh is the most vulnerable point of any barrier fence installation. Wind can lift the bottom edge and create a gap that negates the barrier function; animals and small children can crawl under; and on sloped terrain, the mesh may not reach the ground at all points without additional management.
Ground Staking for Standard Barrier Applications
For most construction site and event barrier applications, driving ground anchor pins or landscape staples through the bottom mesh openings at 4 to 6 foot intervals along the fence line is sufficient to prevent bottom-edge lifting. Use 6-inch (150 mm) or 8-inch (200 mm) metal ground stakes driven at a slight inward angle for best holding power in soft to medium-hard soil.
Silt and Erosion Control Applications
When the mesh is being used as silt fencing or erosion control, the bottom edge treatment is the most critical element of the entire installation. The standard specification for silt fence bottom installation requires:
- Excavate a trench 6 inches (150 mm) deep and 4 inches (100 mm) wide along the entire fence line at the base of the posts.
- Lay the bottom 6 inches of the mesh into the trench, oriented with the excess material directed upslope (toward the source of runoff).
- Backfill the trench with the excavated soil and compact firmly with a tamping bar or foot.
- The buried bottom edge prevents runoff from channeling under the fence and ensures the mesh acts as a genuine sediment filter rather than just a visual barrier.
Managing Uneven or Sloped Ground
On terrain that slopes across the fence line, the mesh will be pulled down on the low side and lifted on the high side as it follows a straight top line. The solutions are:
- Step the fence down the slope: At intervals, terminate one section of mesh at a post, drop the attachment height on the next post, and start the new section lower. This creates a stepped profile that follows the terrain closely without leaving large gaps at the base.
- Contour the fence line: Instead of running the fence in straight lines, allow it to follow the natural ground contour. This requires more closely spaced posts on steep or irregular terrain but produces a consistent gap-free bottom edge without cutting the mesh.
Step 6 — Cut and Finish the Mesh Ends
Clean, well-finished mesh ends at access openings, roll joints, and fence terminations distinguish a professional installation from an improvised one. Ragged cut edges also create potential snag and injury hazards and can begin to fray at the warp and weft threads if not properly finished.
Cutting PVC Mesh Cleanly
Always cut the mesh at a post location when possible — this ensures the cut end is immediately secured by the post attachment ties and cannot ravel back into the body of the mesh. Use one of the following cutting methods:
- Utility knife with straight edge: Lay the mesh flat on a hard surface. Position a metal straight edge along the cut line and draw a sharp utility knife along it in one firm, continuous stroke. This produces the cleanest edge for PVC-coated mesh.
- Heavy-duty scissors or snips: Work well when the mesh is already attached to posts and a flat cutting surface is not available. Use the full length of the blade in each stroke rather than short, snipping cuts — short cuts leave a jagged edge.
- Hot knife or soldering iron (for premium finish): A heated blade cuts through PVC mesh and simultaneously heat-seals the cut edge, preventing any possibility of raveling. Used by professionals on permanent or high-visibility applications.
Finishing Access Openings
At access openings, fold the cut end of the mesh 2 to 3 inches back on itself and secure the fold against the end post with additional zip ties through both layers. This folded hem reinforces the cut edge, prevents raveling, and eliminates any sharp edges at the opening that workers or event attendees might contact.
For temporary closures across access openings — where the opening needs to be passable but closeable — thread a length of polypropylene rope through the mesh on both sides of the opening and tie the two sides together. This rope "gate" can be untied quickly for access and re-tied to close the opening, without requiring hardware.
Installation Tips for Specific Applications
Different use cases for PVC barrier mesh require modified installation approaches. The following application-specific tips address the most common scenarios encountered in practice.
Tennis Court Screens and Sports Facility Windscreens
Tennis windscreen installation differs from freestanding barrier fencing because the mesh is attached to an existing framework rather than to posts driven specifically for the mesh. Key considerations include:
- Use continuous lacing cord woven through the top and bottom selvedge edges of the mesh and around the top and bottom rails of the chain-link fence. This distributes the attachment load evenly along the full edge rather than concentrating it at zip tie points.
- Install grommets at 12 to 18 inch intervals along the top and bottom edges if the mesh does not come with pre-installed grommets. Grommet kits are available at hardware stores and take minutes to install with a setting tool.
- Leave 2 to 3 inches of slack in the mesh at top and bottom rather than installing drum-tight. A slightly slack windscreen on a tennis court experiences significantly lower tensile stress during wind gusts than a tightly stretched one, resulting in longer service life.
Construction Site Perimeter Safety Fencing
- Use high-visibility orange mesh (the standard construction safety color in North America) or high-visibility yellow where required by local regulations. This is not merely aesthetic — orange construction fencing is required by OSHA and state safety regulations in many jurisdictions to delineate hazardous areas.
- Add warning signs at regular intervals — typically every 50 feet (15 m) and at every access opening — using zip ties to attach the signs directly to the mesh.
- Inspect the fencing at the start of every work shift. Heavy equipment operating near the fence line commonly damages posts and mesh, and a damaged section that is not repaired before work begins creates a genuine safety liability.
Garden and Landscape Applications
- Fiberglass or bamboo stakes are appropriate post materials for lightweight garden applications where the primary function is delineating planting areas or deterring casual foot traffic, not physical containment.
- Green PVC mesh is the aesthetic choice for garden applications, blending with vegetation rather than creating the industrial appearance of orange or yellow safety mesh.
- For deer or rabbit exclusion, increase mesh height to 6 feet or taller for deer (deer can jump 4-foot fences easily) and install with no gap at the bottom edge.
Common Installation Mistakes and How to Avoid Them
Even experienced installers occasionally encounter problems that stem from avoidable errors made earlier in the process. The table below identifies the most frequently encountered mistakes and their solutions.
| Mistake | Why It Happens | How to Fix / Prevent |
|---|---|---|
| Mesh sags between posts | Posts too far apart; insufficient tension at attachment | Add intermediate post; re-tension and re-tie mesh |
| Posts lean outward under wind | Insufficient embedment depth; soft soil | Drive posts deeper; add concrete collar to problem posts |
| Zip ties break or fail | Non-UV-resistant ties used; ties over-tightened | Use UV-resistant ties; replace with hog rings for permanence |
| Gaps at roll joints | Insufficient overlap; overlap not at a post | Minimum 6-inch overlap; always position joints at a post |
| Bottom edge lifts in wind | No bottom anchoring; ties only at mid and top | Drive ground stakes; add zip ties near bottom edge at every post |
| Mesh tears at tie points | Over-tensioned; too few tie points concentrating load | Add more tie points to distribute load; reduce tension |
| Mesh runs out before end of perimeter | Insufficient material ordered; no overage factor | Always order 10% overage; measure perimeter before ordering |
| Fence line not straight | Posts set by eye without string line | Always set a string line before driving any posts |
Maintenance, Inspection, and Removal of PVC Barrier Mesh
PVC barrier safety fencing mesh is designed for durability, but regular inspection and basic maintenance significantly extend its service life and ensure it continues to perform its safety function effectively.
Routine Inspection Checklist
Inspect the fence at a minimum of weekly intervals during active use, and after any storm event or period of high winds. The following items should be checked at each inspection:
- Post condition: Check for leaning, tilting, or partially withdrawn posts. A post that has shifted more than 5 degrees from vertical should be re-driven and compacted before the next use period.
- Zip tie condition: Check for broken, missing, or UV-degraded ties. Replace any failed ties immediately — a mesh section with missing ties is unsecured and creates a breach in the barrier.
- Mesh integrity: Look for tears, cuts, or holes in the mesh body. Small holes (up to 6 inches diameter) can be patched with a mesh patch and zip ties; larger damage requires mesh section replacement.
- Bottom edge: Verify that the bottom edge has not been lifted and that ground stakes remain in place.
- Roll joint integrity: Confirm that overlaps at roll joints have not separated and that ties at joint locations are intact.
Cleaning PVC Mesh
PVC-coated polyester mesh can be cleaned with a mild soap solution and a soft brush or low-pressure water rinse. Avoid pressure washing, which can force water into the weave and potentially delaminate the PVC coating from the polyester core over time. Never use solvent-based cleaners (acetone, MEK, paint thinner) on PVC mesh — these attack the PVC coating and rapidly degrade the material.
Removing and Storing Mesh for Reuse
PVC barrier mesh is reusable across multiple installations if removed and stored correctly:
- Cut all zip ties or remove wire fasteners. Do not attempt to pull the mesh off posts while ties are still attached — this stretches and deforms the mesh openings at tie locations.
- Starting at one end of the fence, fold the mesh in 2-foot accordion folds as you progress along the fence line. Accordion folding rather than rolling prevents creases from setting in the PVC coating.
- Secure the folded mesh bundle with zip ties or rope ties at 3-foot intervals to prevent it from unfolding during handling.
- Store the mesh indoors or in a covered area away from direct sunlight when not in use. Even UV-stabilized PVC degrades more slowly when not exposed to UV between uses. Store off the ground on pallets or shelving to prevent moisture absorption and mold growth.
- Inspect the mesh thoroughly before each redeployment. Mesh that shows significant UV bleaching, brittleness, or widespread coating delamination should be retired rather than re-installed in a safety-critical application.
Summary: Installation Best Practices at a Glance
For quick reference, the complete installation process for PVC barrier safety fencing mesh is summarized in the checklist below:
- Plan and measure: Total perimeter + 10% overage for mesh; post count at chosen spacing; identify corners and access openings.
- Set corner and end posts first: Drive to one-third of post length in ground (minimum 24 inches for 6-foot posts); verify plumb in two directions.
- Stretch string line: Set string line between corner/end posts at intended top-of-post height before driving any line posts.
- Drive line posts to string line: Consistent spacing (6–10 feet depending on wind and application); all posts touching string line for straight alignment.
- Attach mesh to starting post: Secure leading edge with 3 ties before unrolling; walk roll forward upright, not dragged on its side.
- Lay out full roll before fastening: Unroll the entire length, then go back and tension/fasten to intermediate posts working from start to end.
- Fasten with correct tie count: Minimum 3 ties per post for 4-foot mesh; 4 ties for 6-foot mesh; 5–6 ties in high-wind or high-traffic conditions.
- Secure bottom edge: Ground stakes at 4–6 foot intervals; or bury bottom 6 inches for silt control applications.
- Cut and finish ends: Cut at post locations; fold hem at access openings; all cut edges secured by fasteners.
- Inspect before use: Walk the full fence line; verify all posts are plumb, all ties are tight, no gaps at bottom or at joints.
Following this sequence consistently produces a PVC barrier fence that is structurally stable, visually clean, and capable of performing its safety function reliably throughout the intended service period — whether that is a single-day event or a multi-month construction project.